All of you know by now that I’m a geek. What you may not be aware of is that I also love to make things!
Yay, crafting!
I do a lot of painting, some sketching, Perler Bead sprites, and I’m learning to crochet. If you followed me when I wrote on Geeky ‘n Girly, you may recall my post stating that I was going to be doing Perler Beads. I even went as far as to create an Etsy for it and try to sell them. Well, that didn’t go so well but that didn’t stop me from selling them locally and just making them for fun.
Most geeks/nerds are familiar with Perler Beads. If you aren’t, they’re basically beads that you put together into a pattern on a pegboard and then you melt them together to make images.
For geeks, perlers are the perfect recreation of the old school video game sprites that we love! In truth, it has become so popular that there are perler patterns for just about anything is available. Simply google perler bead patterns or hit up Pinterest. Trust me, my perler patterns have their very own board on Pinterest.
Perlers are a lot of fun and can be easy or highly complicated. I tend to prefer the simpler sprites that are nostagic for me, but I’ve also made some of the more cutesy types.
What to Buy:
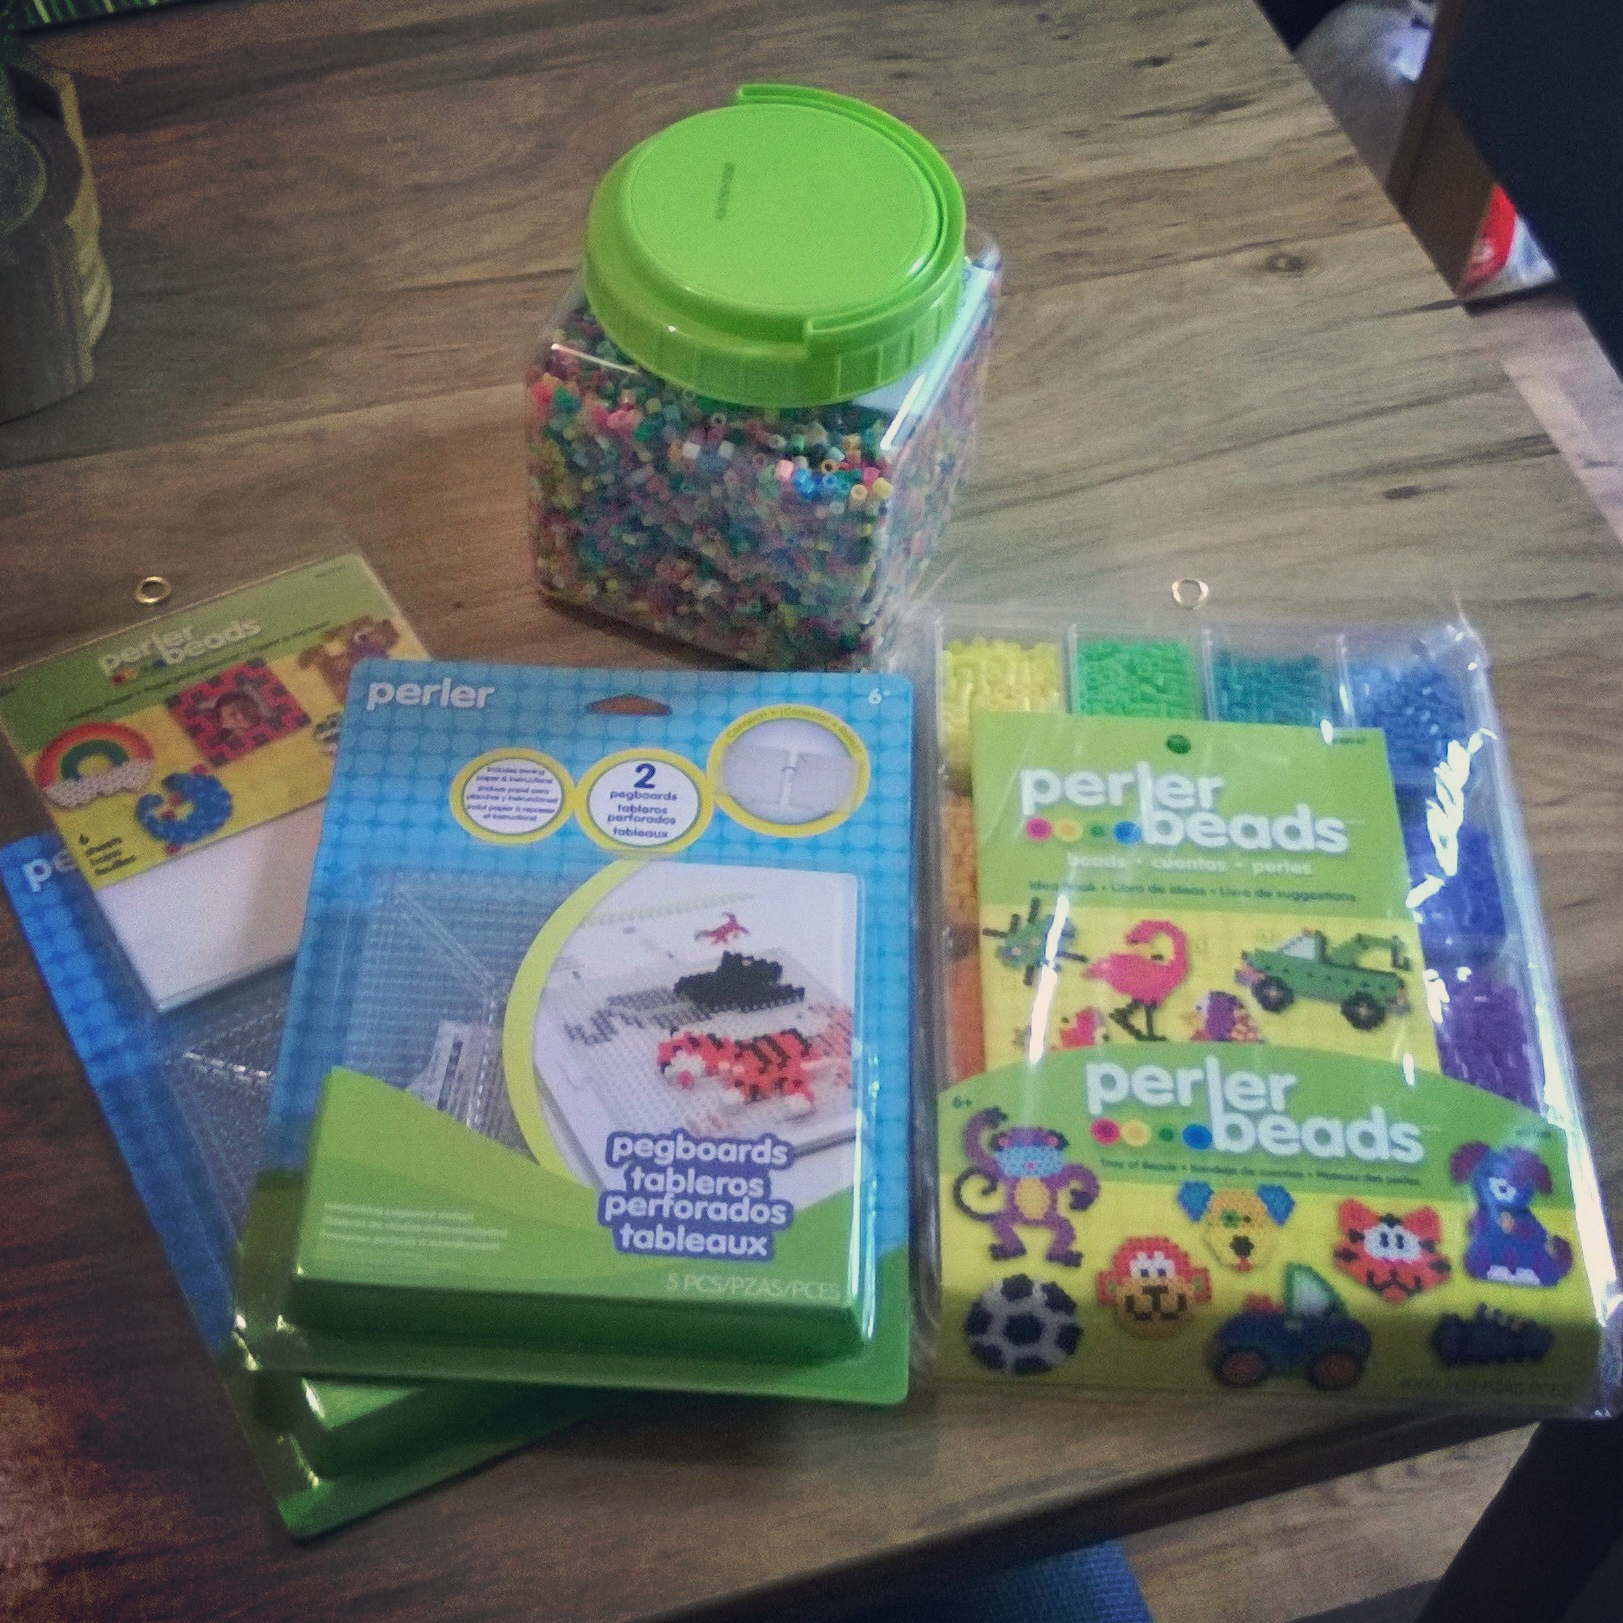
Most of these items can be found at Hobby Lobby/Michaels and you’re local Walmart.
Beads – These can be sorted or mixed. I recommend both since it gives you a variety. Then when you figure out which colors you really want to use, you can go back for the individual packs.
Peg Boards – Definitely buy the ones you can interlink in case you want to go big with your creations.
Wax Papers – This is a must. Don’t apply heat directly to the beads or you’ll have a mess.
Masking Tape – The thicker, the better! This is used to remove your completed sprite from the peg boards.
Clothes Iron– You’ll need one if you don’t have one to melt the beads.
Toothpicks – Or something similar to puncture holes in the masking tape to prevent air bubbles.*
How To – Steps:
- Look up a pattern or make it up! Again, you can find patterns online by googling or using Pinterest.
- Place beads on the pegboard in the pattern.
- Apply masking tape to the completed pattern so that it covers every bead.
- Take something flat like a credit card and press the tape against the beads to assure they stick.
- Use a toothpick or pen to puncture a few of the beads’ holes.
- Life the tape with beads stuck off of the peg boards.
- Set the pattern with the beads facing down.
- Take your peg board and line the pegs with the holes you’ve already made. Press down until the pegs puncture the rest of the beads’ holes.
- Flip the pattern over with beads facing up.
- Cover with wax paper.
- Apply iron in circular motions using an even amount of pressure until beads appear wet through the paper.
- When beads are melted, leave wax paper and set something flat and heavy on top so that the sprite doesn’t warp while cooling. A thick book or two will work.
- Wait 10-15 minutes before removing the heavy item, wax paper, and tape.
- Done!
Tips for Beginners:
- Turn on your iron while you’re putting your pattern together. It helps to save time.
- Don’t iron the beaded pattern while it sits on the plastic peg boards. The heat will warp the boards!
- *Be sure to puncture holes through the tape to allow air to escape. If not, you’ll create air pockets that will cause the holes to enlarge when you melt the beads.
- To get rid of all holes and create a flat sprite, use extra but even pressure when ironing until you see the beads melt together completely into tiny squares. Don’t iron for too long or you’ll seriously flatten them out!
- Don’t use wax paper that’s been folded, or if you do, don’t put the creases on top of the beads. When you iron them, you’ll actually iron on the crease which will create an indentation on your sprite!
- Have Patience! Perler Beads require a good amount of time and patience depending on what you’re trying to make. There will be times that you bump it, knock it, and otherwise mess it up. The good news is that it can be fixed!
If you’re a picture or video person as far as instructions go, there are many websites and videos to be found on how to make Perler Bead sprites.
The only thing I recommend is to pay attention to the tips above. They were hard learned lessons!
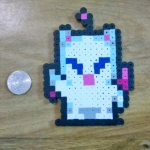
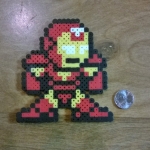
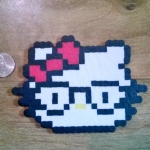
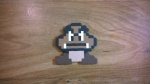
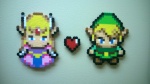
Now for the fun part! Below are some of the sprites that I’ve made so far.


Happy Perlering!

